
Introduction
Follow these step-by-step instructions to perform a Live/Dead analysis on your 3D bioprinted constructs. This protocol uses a fluorescent assay to determine the number of viable cells in culture.
Materials
- LIVE/DEAD Kit (Life Technologies #L-3224)
- Calcein AM 4mM in DMSO
- Ethidium homodimer 2 mM in DMSO/H2O 1:4
- 15 mL conical tube
- Aluminum foil
- Sterile Phosphate Buffered Saline (PBS)
- Vortex
- Biosafety Cabinet
- Pipet
- Incubator
- Water Bath
Methods
- Using a water or bead bath, warm reagents to 37˚C;
- Calculate how much assay solution you will need for your samples. Refer to the table below to check working volumes for different well plates:
| Well Plate | Well Working Volume |
| 96-well | 200 µL |
| 48-well | 300 µL |
| 24-well | 500 µL |
| 12-well | 1 mL |
| 6-well | 2 mL |
| 30 mm | 2 mL |
| 60 mm | 3 mL |
| 100 mm | 5 mL |
- Add 10 mL of sterile PBS to a 15 mL conical tube;
- Note: multiply quantities accordingly depending on the amount of solution determined on step 2. Always make at least 10% extra solution to ensure all wells will get the same amount of each component.
- Add 20 uL of the supplied 2 mM of ethidium homodimer (EthD-1) stock solution to the 10 mL of sterile PBS;
- Vortex this solution;
- Add 5 μL of the supplied 4 mM calcein-AM stock solution to the 10 mL EthD-1 solution;
- Vortex this solution;
- Wrap the tube in tin foil to keep it away from light. The resulting approximately 2 μM calcein AM and 4 μM EthD-1 working solution is then added directly to cells. The final concentration of DMSO is ≤ 0.1%, a level generally innocuous to most cells. This working solution is good for 1 day;
- In a biosafety cabinet, remove cell media from your dish that contains either cells or bioprinted constructs;
- Note: make sure to have your biosafety cabinet light off.
- Wash the constructs or cells 2x with sterile PBS to remove all media components;
- Add the appropriate volume of working solution to your wells according to the working volumes on step 2;
- Wrap the well plate in tin foil to protect it from light;
- Incubate it at 37˚C for 30-45 minutes. For hydrogels, incubate for 60 minutes;
- Remove working solution from the wells;
- Wash the tissues or cells 3x with PBS to stop the reaction;
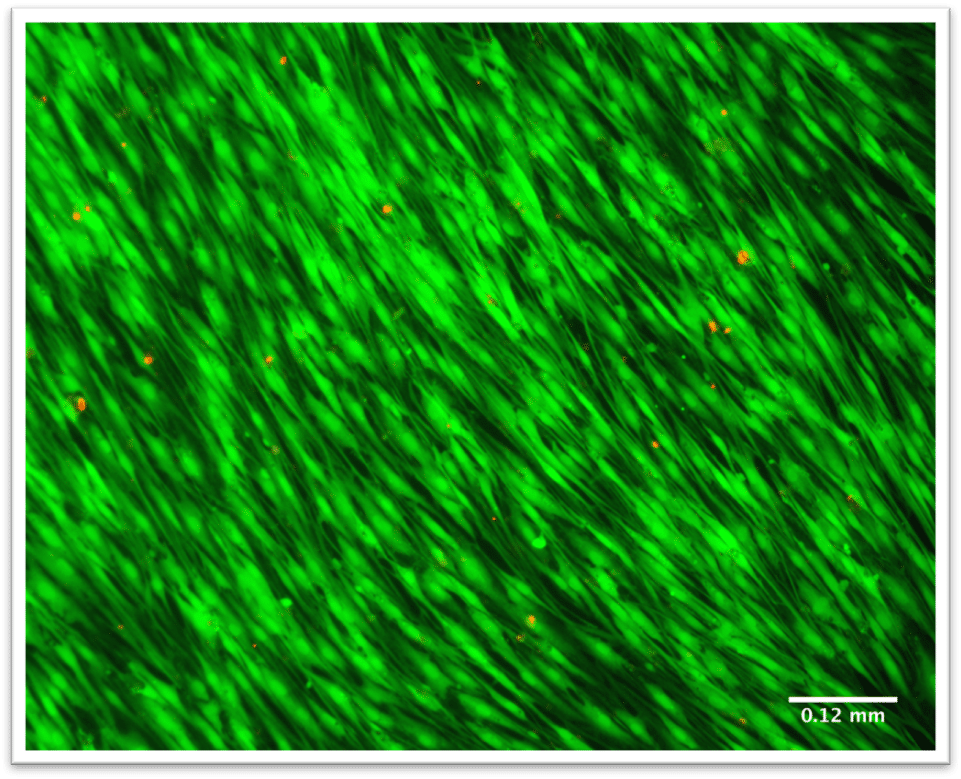
- Image cells or constructs using a fluorescent or confocal microscope.
We hope this protocol will help you easily perform your live/dead analyses! For more bioprinting protocols – click here.

