Manual Calibration Support Guide

In this guide we discuss the best practices for manual calibration. We also provide information to help you troubleshoot your calibration process. For help with autocalibration on an Allevi 1 or Allevi 3 bioprinter, check out our Autocalibration Support Guide.

Performing a Successful Manual Calibration

Starting Up the Printer

After connecting to the printer, Allevi 1 and Allevi 3 users should run an autocalibration to establish baseline coordinates for the extruder. As with all autocalibration, you will need to have a syringe with a syringe tip loaded into the extruder. You should also remove anything (such as a petridish) from the bedplate. Allevi 2 users should see an automatic homing process occur during boot-up which provides similar baseline coordinates.

Moving the Extruder

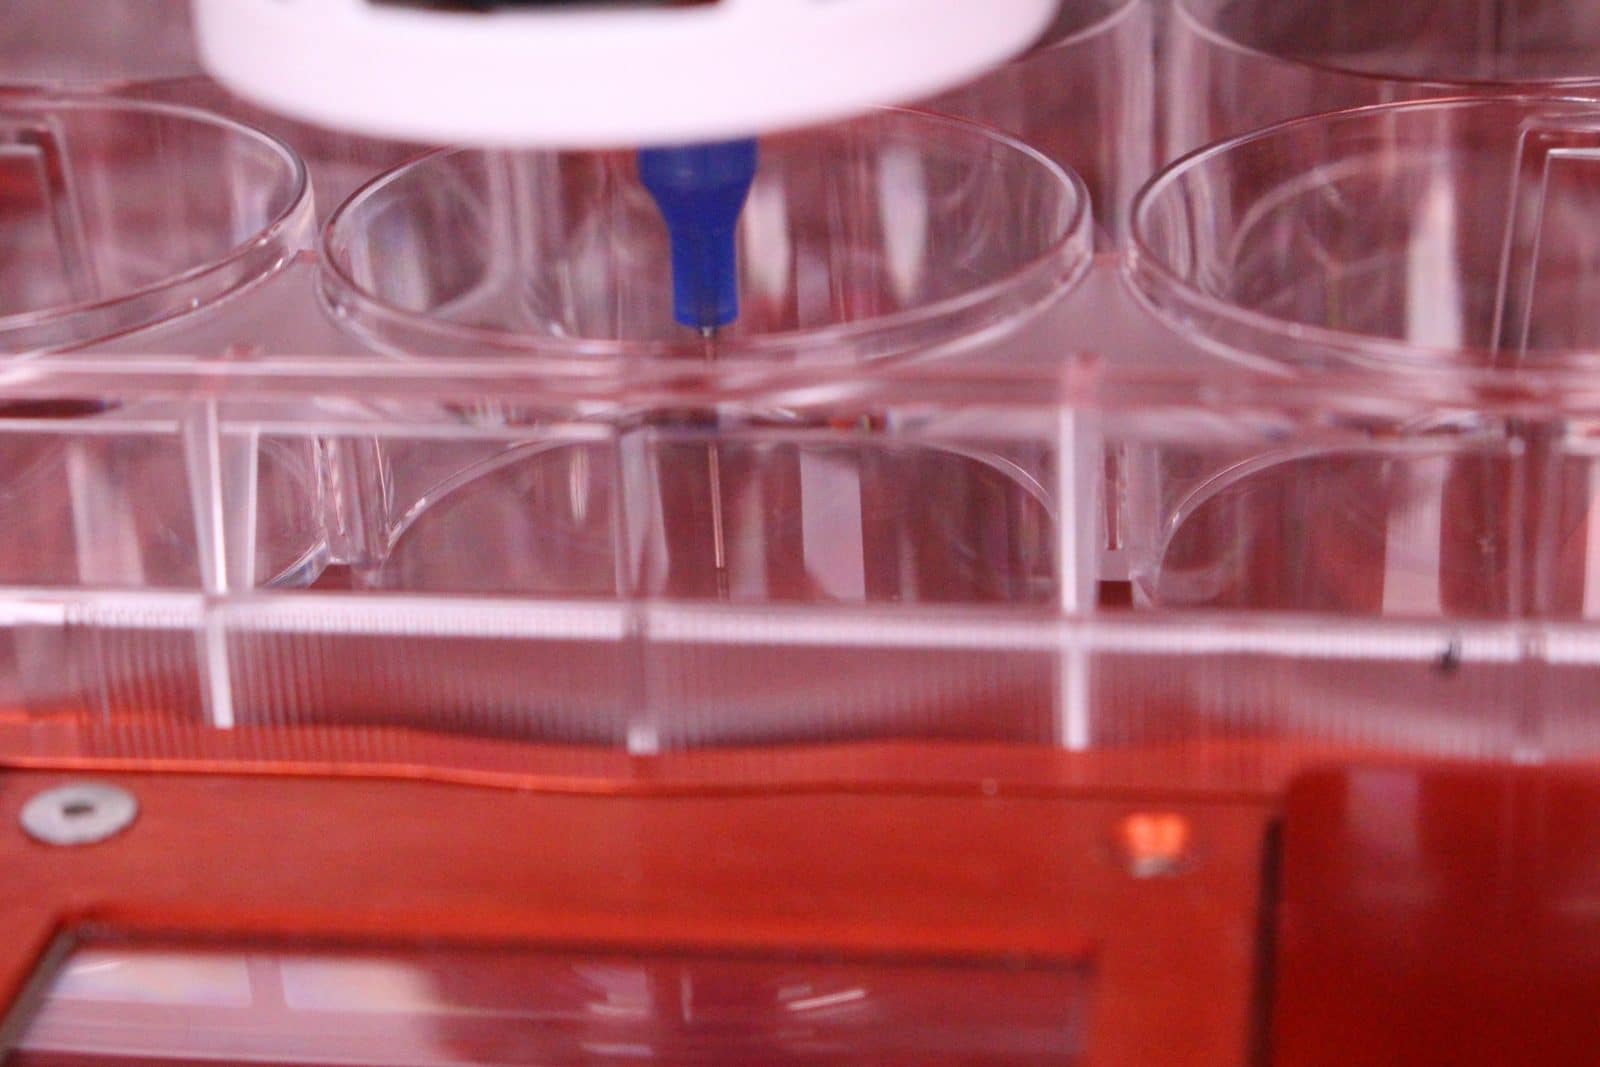
After starting up and possibly autocalibrating, you can begin the Manual Calibration process. From here, we will discuss calibrating a single extruder but the steps are repeatable for multiple extruders. It is usually easiest to first position the extruder over the center of the printing surface in the X/Y Plane. As such it might be helpful to use the centering button under the X/Y axes in the jogging panel to get most of the way there . Getting the tip closer to the print surface may also help you judge your X/Y calibration.

Centering button

Once you are satisfied with your initial X/Y positioning, it’s time to begin moving in the Z axis slowly. Take advantage of the full range of the step sizes! Keep in mind that your extruder doesn’t move down, your bed plate moves up. The closer the extruder gets to your printing surface the harder it may become to see the tip. Activating the stage light on an Allevi 1 or an Allevi 3 can help with this.

Finding the Correct Calibration Point

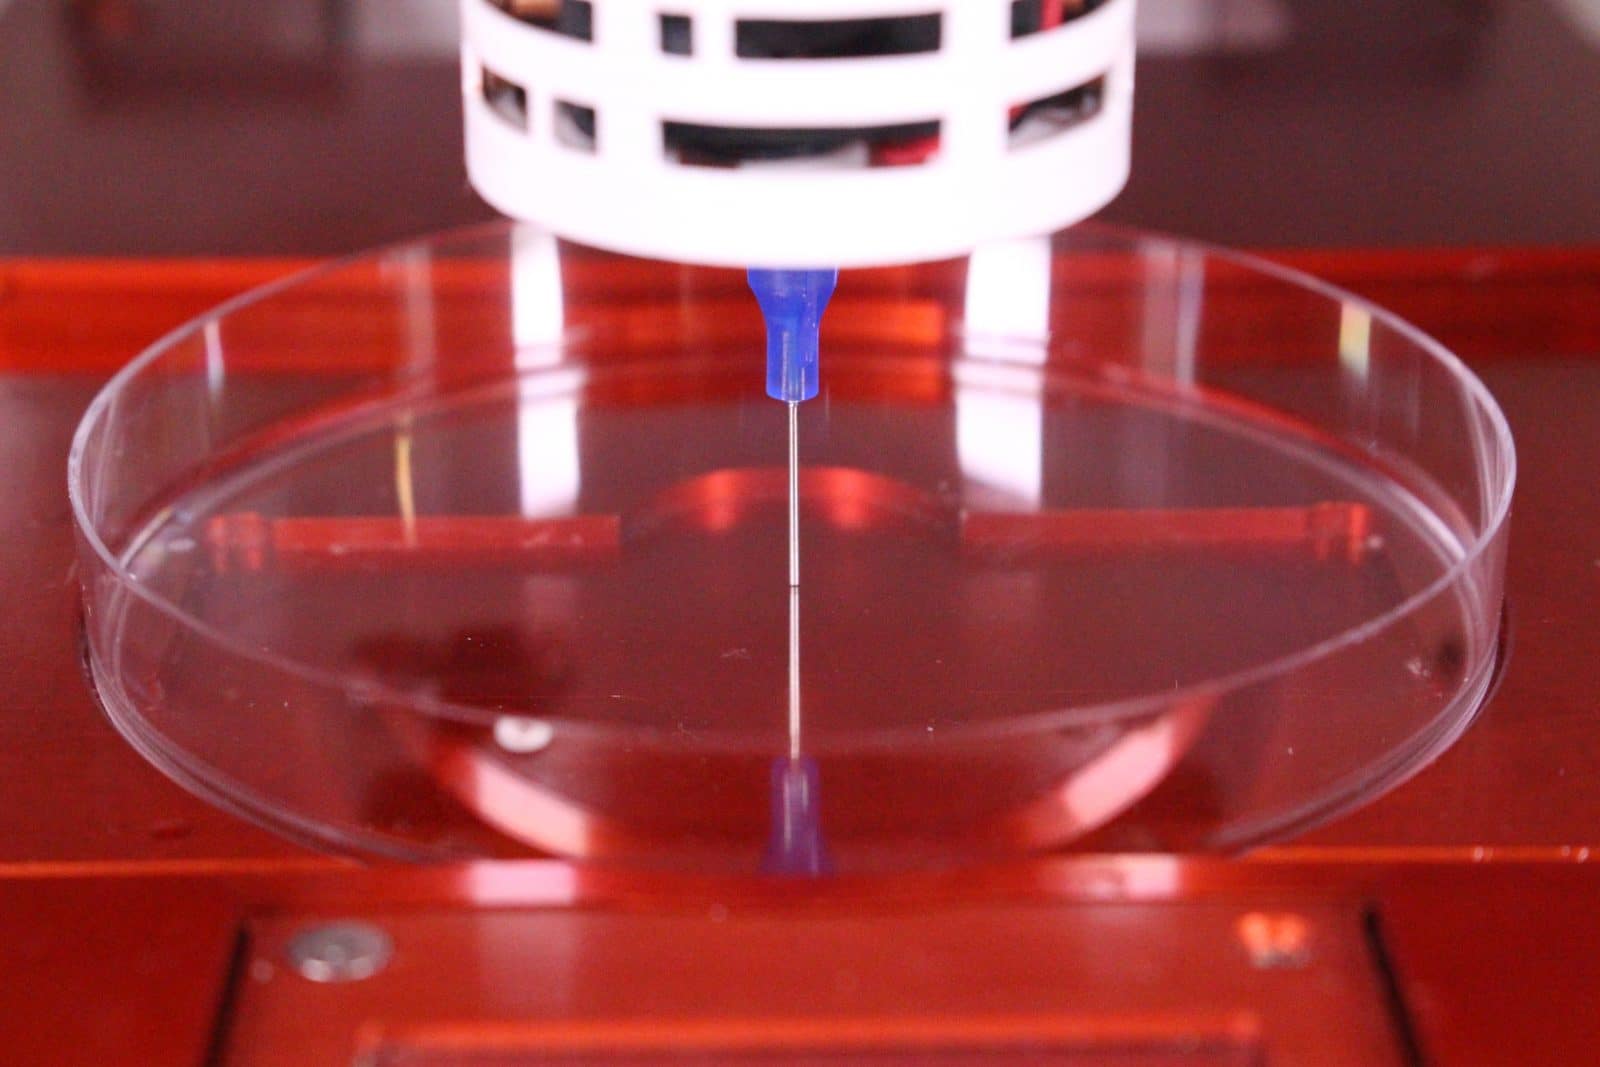
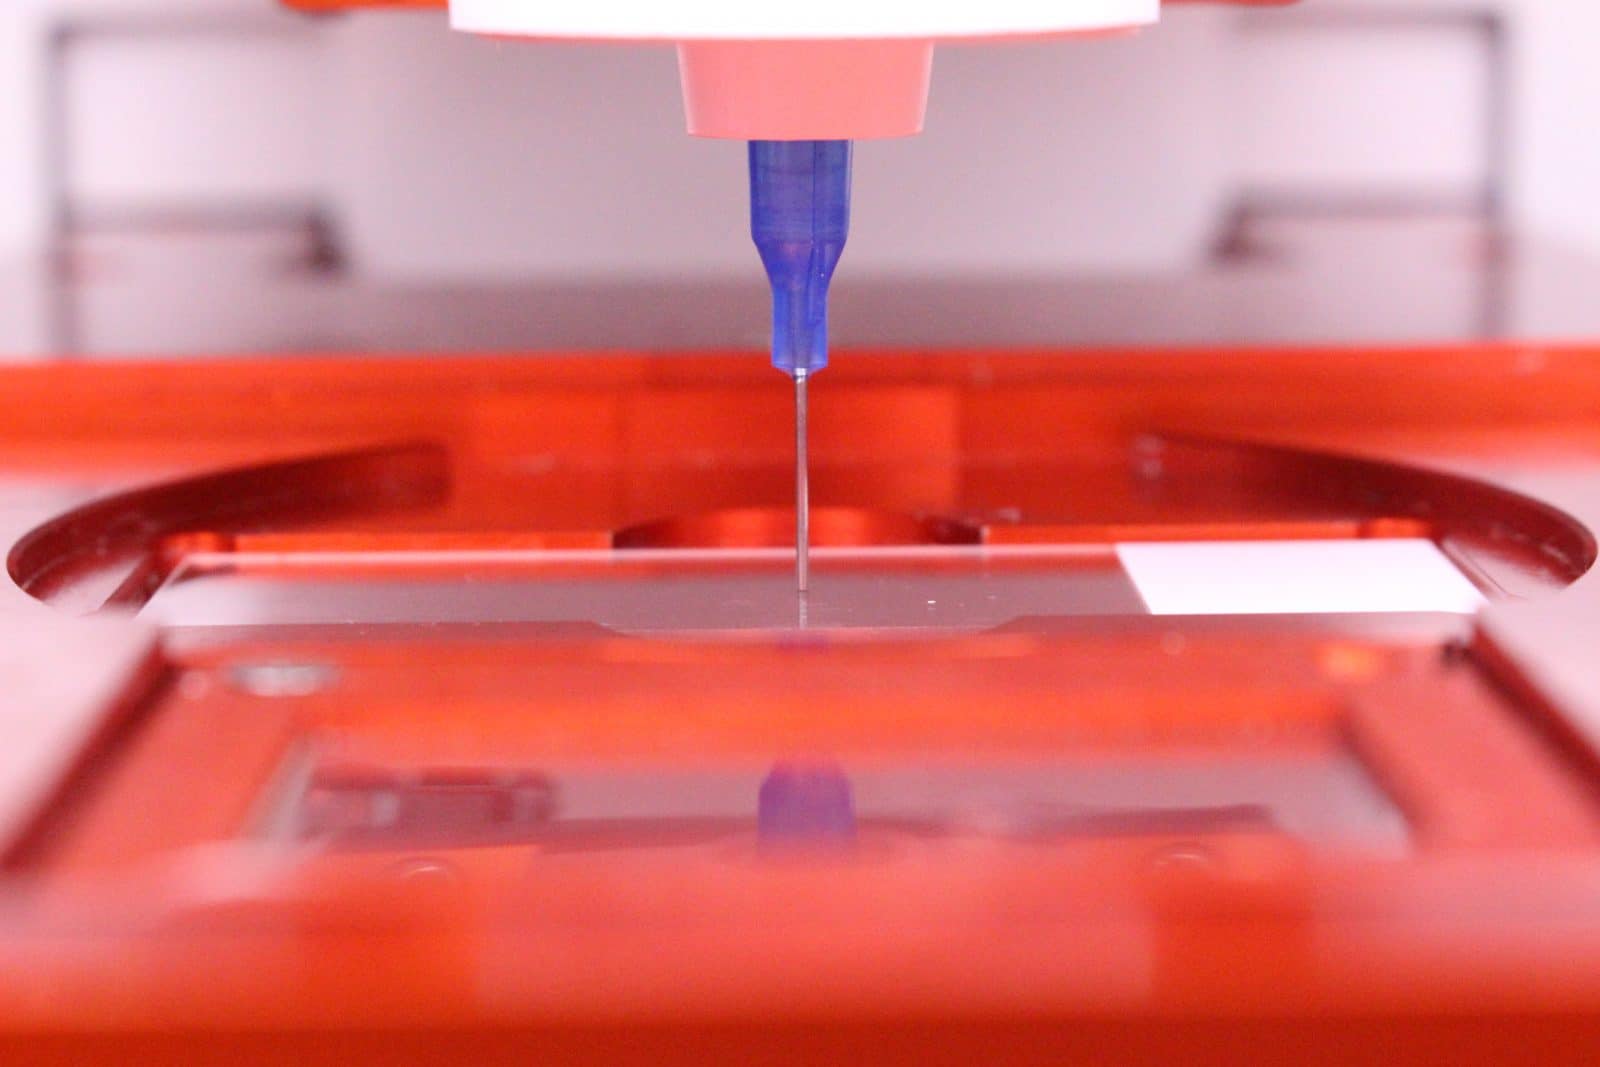
Calibration works best if you try to find a “true zero”. This is a point where your extrusion tip lightly touches your print surface in its center. This “true zero” will help ensure your layers are close enough to adhere to the print surface and each other while not scratching the print surface. Below we discuss best practices for different types of print surfaces.

Petri Dish
  • To help achieve a consistent X/Y calibration between multiple extruders, consider marking the midpoint of the underside of the dish before starting. Then you can aim at the mark during calibration.
  • To test Z calibration, try to lift the petri dish and then try to spin the petri dish. If it can spin without resistance but cannot be lifted, that is a good calibration.
Glass Slide
  • To help achieve a consistent X/Y calibration between multiple extruders, consider marking the midpoint of the underside of the slide before starting. Then, you can aim at the mark during calibration.
  • A glass slide is often reflective and has above average visibility. As such, you can help gauge Z calibration by watching the actual extruder tip approach its reflection in the glass. When the two meet from your view as the user the calibration is likely very close to complete.
Multi-well Plate
  • A manual calibration in a multi-well plate only needs to be performed in one well. Calibrate to the center of the leftmost well of the furthest back row in the plate.
  • To help achieve a consistent X/Y calibration between extruders, consider marking the midpoint of the underside of the first well before starting. Then you can aim at the mark during calibration.
  • Testing Z calibration in a well plate can be difficult because the walls tend to obscure your view. It should be impossible to lift the plate straight up, but jogging the extruder a few mm in any direction from (0,0) should not produce any scratching.

Manual Calibration Troubleshooting

I don’t know if my calibration is too close to the print surface.

Here we present an example of two flawed calibrations to help provide some context.

The noticeable gap between the tip and print surface here illustrates an under-calibration
An over-calibration (right) is contrasted here with an appropriate calibration (left). The over-calibration causes a depression in the dish which can be seen in the changed reflection indicated by the blue arrow.

When I launch a print from the Project Workflow, it does not allow me to manually calibrate.

  • Allevi 1 & Allevi 3 Users:
    • When a print is launched from the project workflow, the software will check the calibration status of each connected extruder. If any extruders have the ‘Not Calibrated’ status, the software will perform autocalibrations on them, then proceed immediately to the print. If you would like to use a manual calibration with a project instead, you should perform the calibration first in the Printer Dashboard. It will persist as long as the printer remains powered on and the consumables remain the same. You can follow these steps:
      1. Open the Printer List view of the software.
      2. Connect to the printer you want to use.
      3. Using the Printer Dashboard and the best practices given in this article, perform your manual calibrations.
      4. Navigate back to the Projects Tab.
      5. Prepare and launch your project.
  • Allevi 2 Users:
    • You must manually calibrate before printing a Project. When a print is launched from the project workflow, the software will check the calibration status of each extruder. If either extruders has the ‘Not Calibrated’ status, the software will issue a warning that the extruder(s) in question must be calibrated. From this warning, you can exit back to the Printer List and follow these steps:
      1. Open the Printer List view of the software.
      2. Connect to the printer you want to use.
      3. Using the Printer Dashboard and the best practices given in this article, perform you manual calibrations.
      4. Navigate back to the Projects Tab.
      5. Prepare and launch your project.

Share this post

Need help with something else?

Ask us on chat →

Or get in Touch via email ↓