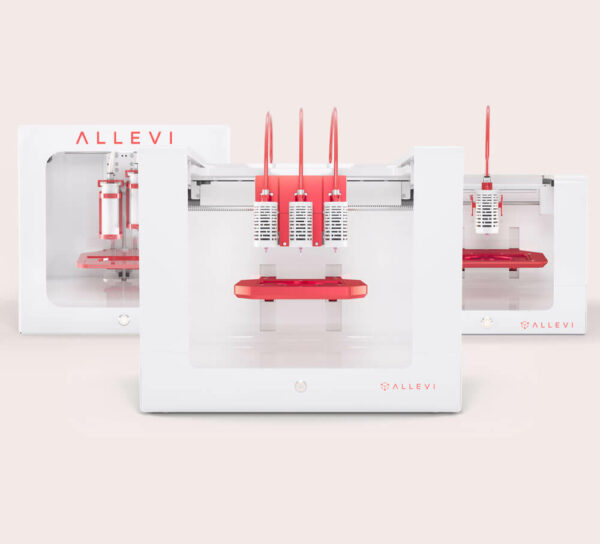
Below are directions for a sample dual extrusion bioprint with Bioprint software. This protocol is meant for educational purposes to help you learn how to use your Allevi 2 and familiarize yourself with the bioprinting process in general.
Load Your Syringe
- Remove Pluronic F127 from storage. The material should be a liquid solution. While still cold, load your syringe with the material. For this first print, we suggest loading 2-3 ml.
- First place a syringe cap on your syringe.
- Then gently pour or pipette Pluronic F127 into the syringe
- Add the stopper, then invert the syringe and remove the syringe cap.
- Carefully push the material to the top of the syring with a lab marker, then cap with a 30 gauge needle.
2. Place your syringe into your Allevi. Allow Pluronic F127 to warm to room temperature before printing.
3. Finally, place a petri dish into the bed plate.
Set Up Your Software
1. Open Repetier Host and load your CAD File(Figures 1-5). We suggest this dual concentric file.
2. For bioprints with Pluronic F127, you will want to set the slicer and print parameters to match the settings below. You can download these slic3r settings here.
| Speed (mm/s) | Layer Height (mm) | Nozzle Diam (mm) | Gauge | Pressure (PSI) | Print Temp (°C) |
|---|---|---|---|---|---|
| 4.0 | 0.2 | 0.2* | 30 | 70 | 25 |
3. Slice your design and save the G-code file.
4. Upload your file to the Allevi software.
1. Connect your computer to your Allevi.
2. Using software and manual controls, calibrate your Allevi to determine the zero positions.

