


Overview
Spheroids and organoids are 3D culture models that serve as simple, yet physiologically relevant organ samples when compared to 2D cell cultures. Researchers use these models as a platform to run screening experiments, measuring different markers relevant to the tissue type they are testing. This protocol runs you through the process of bioprinting spheroids/organoids using project workflow on the Allevi system – a practical way to deposit cell-laden hydrogels and media for spheroid or organoid creation.
Materials
Methods
- Start a project;
- Select your build plate of choice;

- On the print editor, click on “Add Structure”;

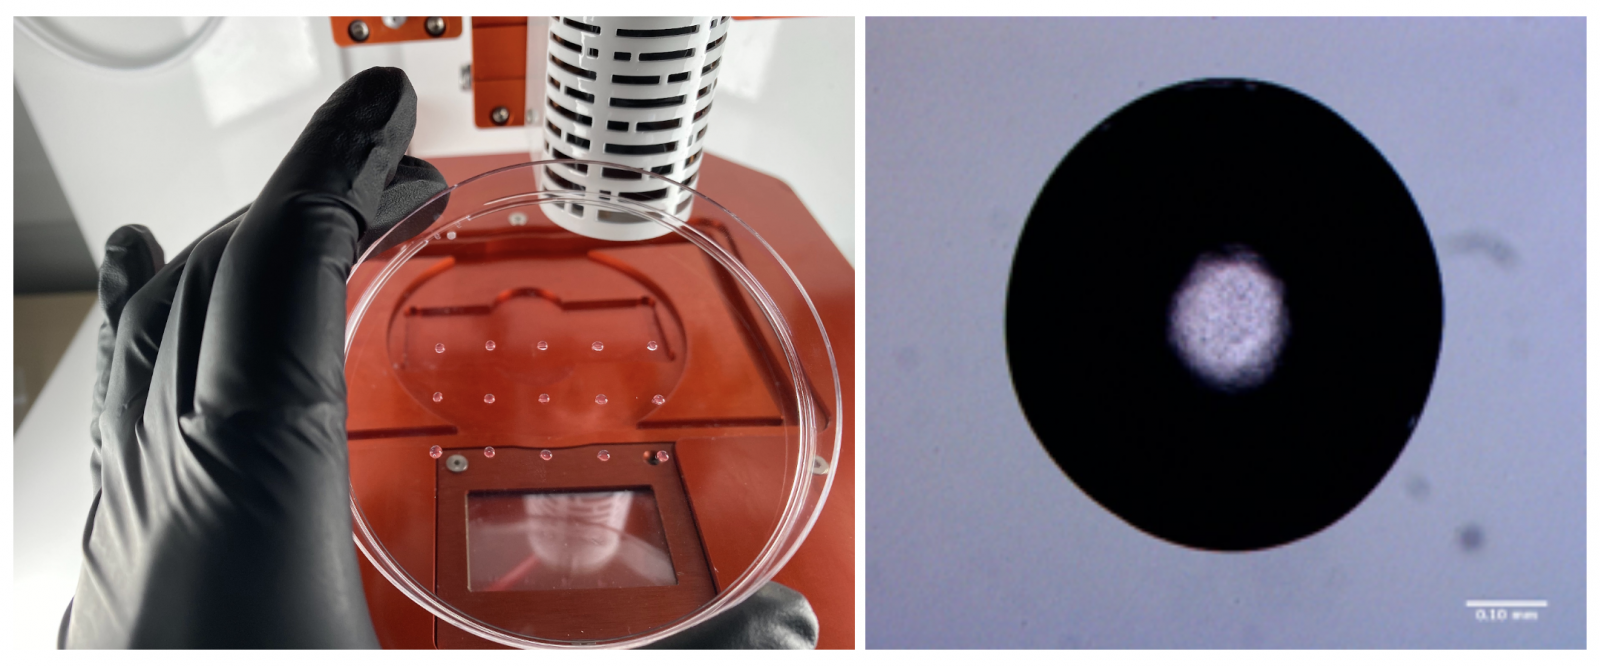
- Select “dots” and set how many dots you wish to print horizontally, vertically, their spacing and extrusion time;
- Note: Extrusion time is correlated with volume, so manipulating time will determine your spheroid volume. Keep in mind that different materials and parameters, such as volume and nozzle diameter, will yield different flow-rates. Hence, extrusion time and volume will vary depending on the bioink you are using and the parameters that you are setting.

- Set extruder properties depending on the bioink you are using;
- Print!
- Culture your spheroids/organoids as desired.
We hope you found this protocol helpful for bioprinting spheroids/organoids using Project Workflow. You are now ready to analyze/image your 3D bioprinting structures. Click here for the full list of 3D analysis protocols.


