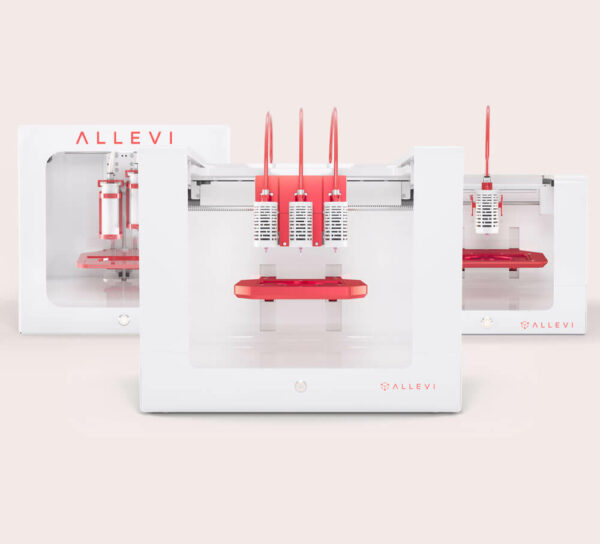
Having a level bedplate is key for getting clean, repeatable 3D bioprints. But, over time, you may find that you need to re-level your bedplate. This guide will instruct you on the proper way to level your bioprinter’s bedplate.
Note: Screw type may vary from the images. Make sure your screwdriver fits well to avoid stripping the screw.
Note: This guide will frequently ask you to touch a syringe to the bedplate. To help protect your syringe tip, leave the air supply disconnected. This will allow the syringe to move freely in the extruder rather than bending the tip if you move too close by accident.
4 Screws
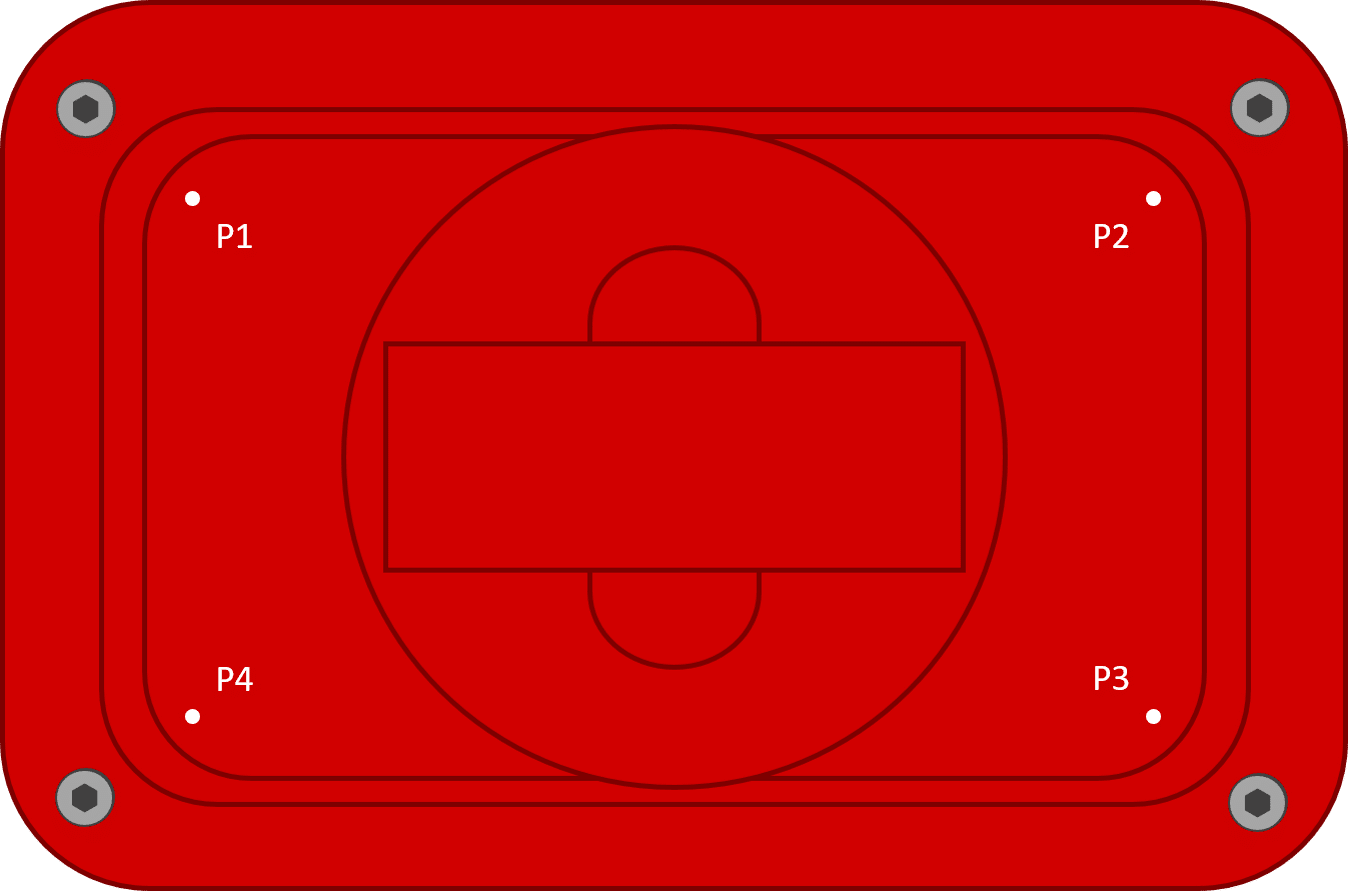
- Load a syringe and needle into the first extruder. If you’re using an Allevi 3, remove the other 2.
- For Allevi 1s and Allevi 3s, autocalibrate now. If you have an Allevi 2, make sure the Z, E, and X/Y axes are homed.
- Using the manual movement, go to P1 in the upper left-hand corner (usually near -55, 35, 25).
- Move the Z-axis up until it barely touches the needle, as if you were manually calibrating. Always use 0.1mm or smaller to complete the last 1mm. Record the Z-axis value.
- Move your bed plate down 5mm, and then move to P2 (55, 35). Repeat Step 4.
- Repeat Step 5 for P3 and P4.
- You should now have 4 values. Decide on a value to reset all the screws. Good choices are the average value or if a value is repeated.
- To adjust the bedplate, turn screws clockwise to increase the height and turn the screws counterclockwise to decrease the height.
- Another way to remember this is “Right-y height-y, left-y low-y“
- Go back through and check that all the corners are at your target level.
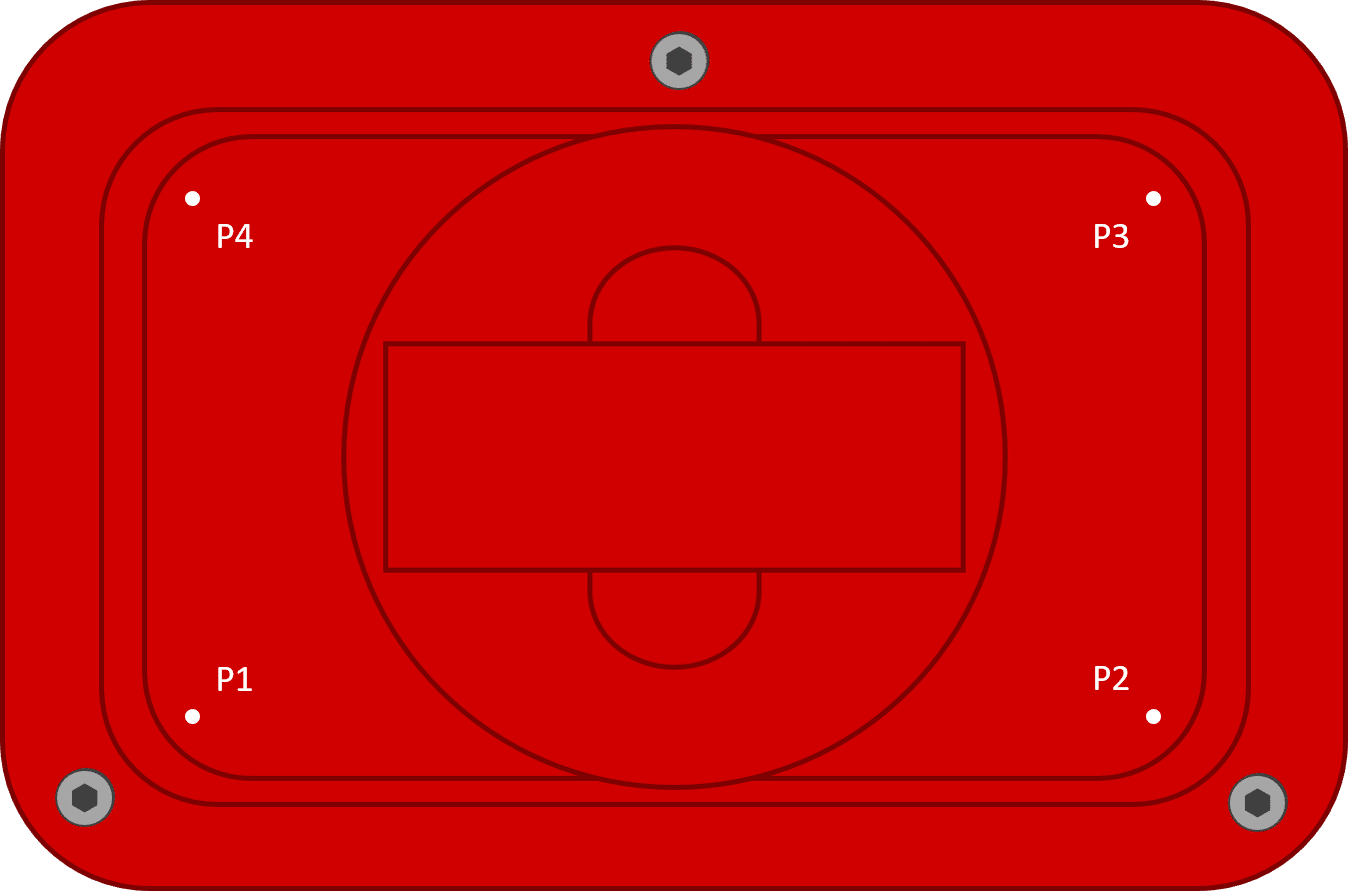
3 Screws (Middle, Back)
- Load a syringe and needle into the first extruder. If you’re using an Allevi 3, remove the other 2.
- Autocalibrate with Petri Dish Selected.
- Using the manual movement, go to (-55, -35, 25). This will bring you to P1 in the lower left-hand corner.
- Move the Z-axis up until it touches the needle, as if you were calibrating. Always use 0.1mm or smaller to complete the last 1mm. Record the Z-axis value.
- Move your bed plate down 5mm, and then move to P2 (55, -35). Repeat Step 4.
- Adjust the screws so that P1 and P2 are at the same height. To level the bedplate, turn screws clockwise to increase the height and turn the screws counterclockwise to decrease the height.
- Another way to remember this is “Right-y height-y, left-y low-y “
- Repeat Step 5 for P3 and P4.
- Adjust the back screw so that P3 and P4 are at the same level as P1 and P2.
- Go back through and check that all the corners are at your target level.
Notes:
- If the screw rotates without resistance, the nut underneath might not be held in its pocket. In this case, you will need to remove the bottom cover and hold the nut with a pair of pliers.
- Sometimes the bottom cover interferes with bedplate leveling. If you encounter greater resistance, remove the bottom cover until leveling is completed. Remove screws as necessary until the bottom cover can fit flush under the bed.
3 Screws (Middle, Front)
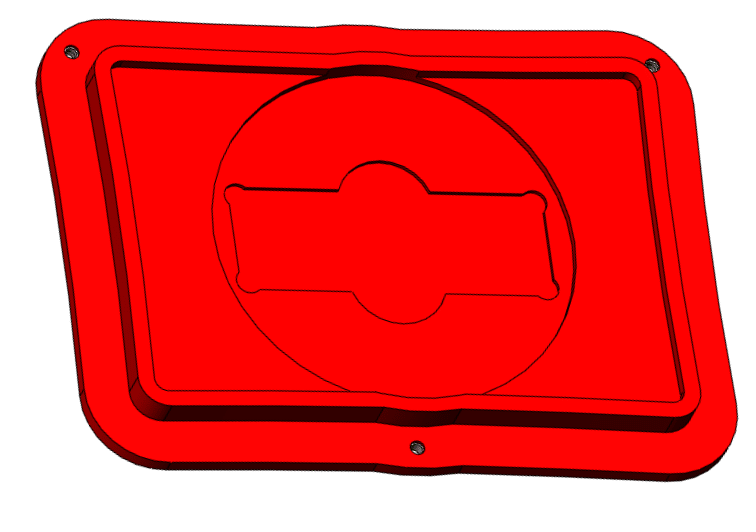
- Adjust the back left screw so that the entire bedplate and square center insert are flush with each other.
- In the graphic below, make sure that points A and B are at the same height
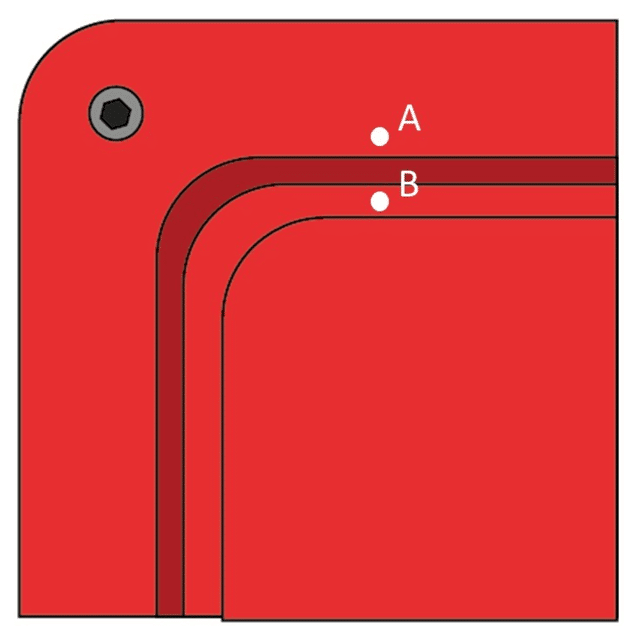
- To level the bedplate, turn screws clockwise to increase the height and turn the screws counterclockwise to decrease the height.
- Another way to remember this is “Right-y height-y, left-y low-y“
- Load a syringe and needle into the first extruder.
- If possible, autocalibrate with Petri Dish selected.
- Using the manual movement, go to (–55, 35, 25). This will bring you to P1 in the upper left-hand corner.
- Move the Z-axis up until it touches the needle, as if you were calibrating. Always use 0.1mm or smaller to complete the last 1mm. Record the Z-axis value.
- Move your bed plate down 5mm, and then move to P2 (55, 35). Adjust the back right screw to P1’s Z value.
- Move your bed plate down 5mm, and then move to P3 (-55, -35). Adjust the front screw to P1 and P2’s Z value.
- Move to all four points and check that all the corners are level.
3 Screws (corner)
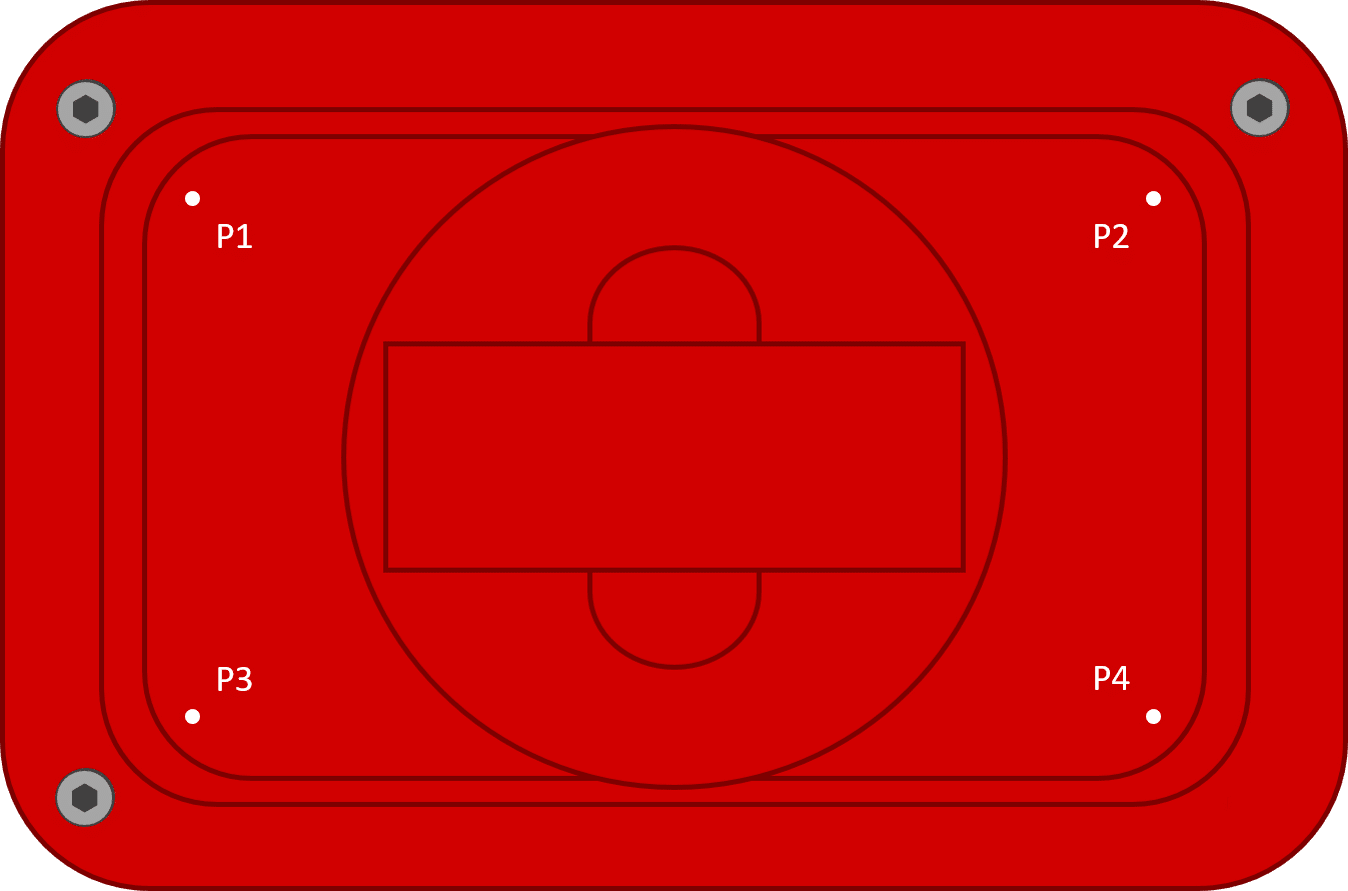
- Load a syringe and needle into the first extruder. If you’re using an Allevi 3, remove the other 2.
- Autocalibrate with Petri Dish Selected.
- Using the manual movement, go to (usually 55, 35, 25). This will bring you to P1 in the upper left-hand corner.
- Move the Z-axis up until it touches the needle, as if you were manually calibrating. Always use 0.1mm or smaller to complete the last 1mm. Record the Z-axis value.
- Move your bed plate down 5mm, and then move to P2 (55, 35). Adjust the screw to P1‘s Z value.
- To level the bedplate, turn screws clockwise to increase the height and turn the screws counterclockwise to decrease the height.
- Another way to remember this is “Right-y height-y, left-y low-y“
- Repeat Step 5 for P3.
- To check if it’s level, go to P4 and check that it is at your target level.
We hope this guide helped you level your bioprinter’s bedplate. You’re now ready to start bioprinting! Click here to read more bioprinting protocols.
If you have more questions about leveling your bedplate contact the Allevi Support Team.
