
Overview
Organs-on-chips have proved to be extremely valuable systems utilized for disease modeling, drug testing, and mimicking organ function. This organ-on-a-chip bioprinting protocol allows you to build structures with controlled inner and outer geometries for liquid perfusion that can simulate blood flow and re-create organ systems. Prototype molds can be made out of sacrificial material such as Carbohydrate Glass then cast in PDMS, which allows final prototypes to be autoclaved, seeded with cells, and connected to pumps or bioreactors for different 3D studies. Follow this step-by-step organ-on-a-chip bioprinting protocol to get started in your lab.
Materials
- Carbohydrate Glass
- Allevi 5 mL metal syringe
- 27G metal tip
- Allevi silicone printing surface
- Petri dish
- PDMS – Part A & Part B
- Silicone mold
- Isopropyl alcohol
- Allevi 5 mL syringe
- 14G washing needle
Methods
Casting:
- Thoroughly mix/combine your PDMS Part A with Part B in a 10:1 ratio (each casting dish holds a 15 mL volume);
- NOTE: You may centrifuge PDMS to remove air bubbles.
- Add the mixture filling up to half of the casting dish;
- Place your mold in a 50˚C oven for 45 minutes;
- When you remove the dish, the PDMS should still be soft enough to create one uniform structure, but hard enough to hold your Carbohydrate Glass structure leveled. Place your Carbohydrate Glass structure on top of the partially cured PDMS and fill the rest of the dish with the remaining PDMS;
- Leave the casted structure at room temperature overnight;
- NOTE: You may skip this step, but longer curing times prevent air bubbles from being trapped in your chip.
- On the next day, place your structure in a 60˚C oven for 2 hours;
- When completely cured, remove the PMDS prototype from the casting dish.
Printing:
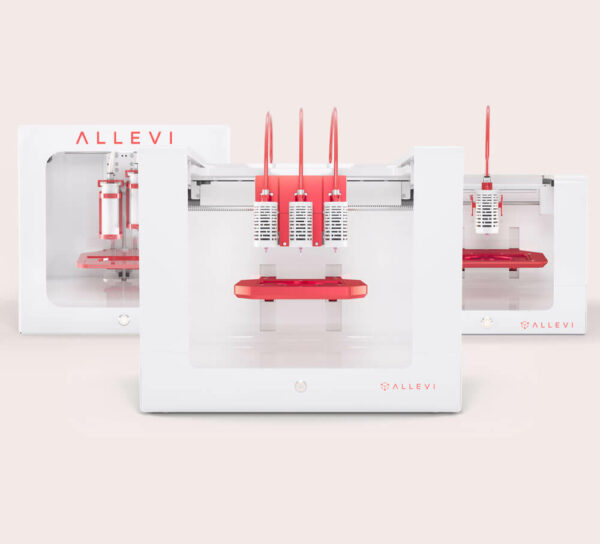
- Place your Carbohydrate Glass cubes inside the Allevi 5 mL aluminum syringe, screw the 27G metal tip on and insert it in your Allevi extruder;
- NOTE: 27G tips will allow you to create ~250-300 µm channel diameters. If you want smaller or larger diameters, consult our website to purchase additional needles of different diameters.
- Set your extruder temperature to 120˚C and wait for the material to melt for about 10 minutes;
- Print your desired structure on the silicone printing surface;
- Save your printed structure for casting on the silicone printing surface. If saved in a petri dish or other material surface, your structure may stick with risk of breaking during removal;
- If desired, you may also print your outside silicone mold in Carbohydrate Glass for more customized outer shapes.
- NOTE: For extremely long working times or prints (several hours) the Carbohydrate Glass may slowly caramelize and slightly darken. This should not affect overall performance.
- Clean-up: The luer-lock needle and aluminum syringe should be removed from the printer and both can be placed in a beaker of warm or hot water to dissolve any residual Carbohydrate Glass. All residual Carbohydrate Glass will eventually dissolve completely (may take overnight depending on how much water you use). Then, simply rinse the luer-lock needle and aluminum syringe under running water to finish cleaning and setup for another print.
Perfusing:
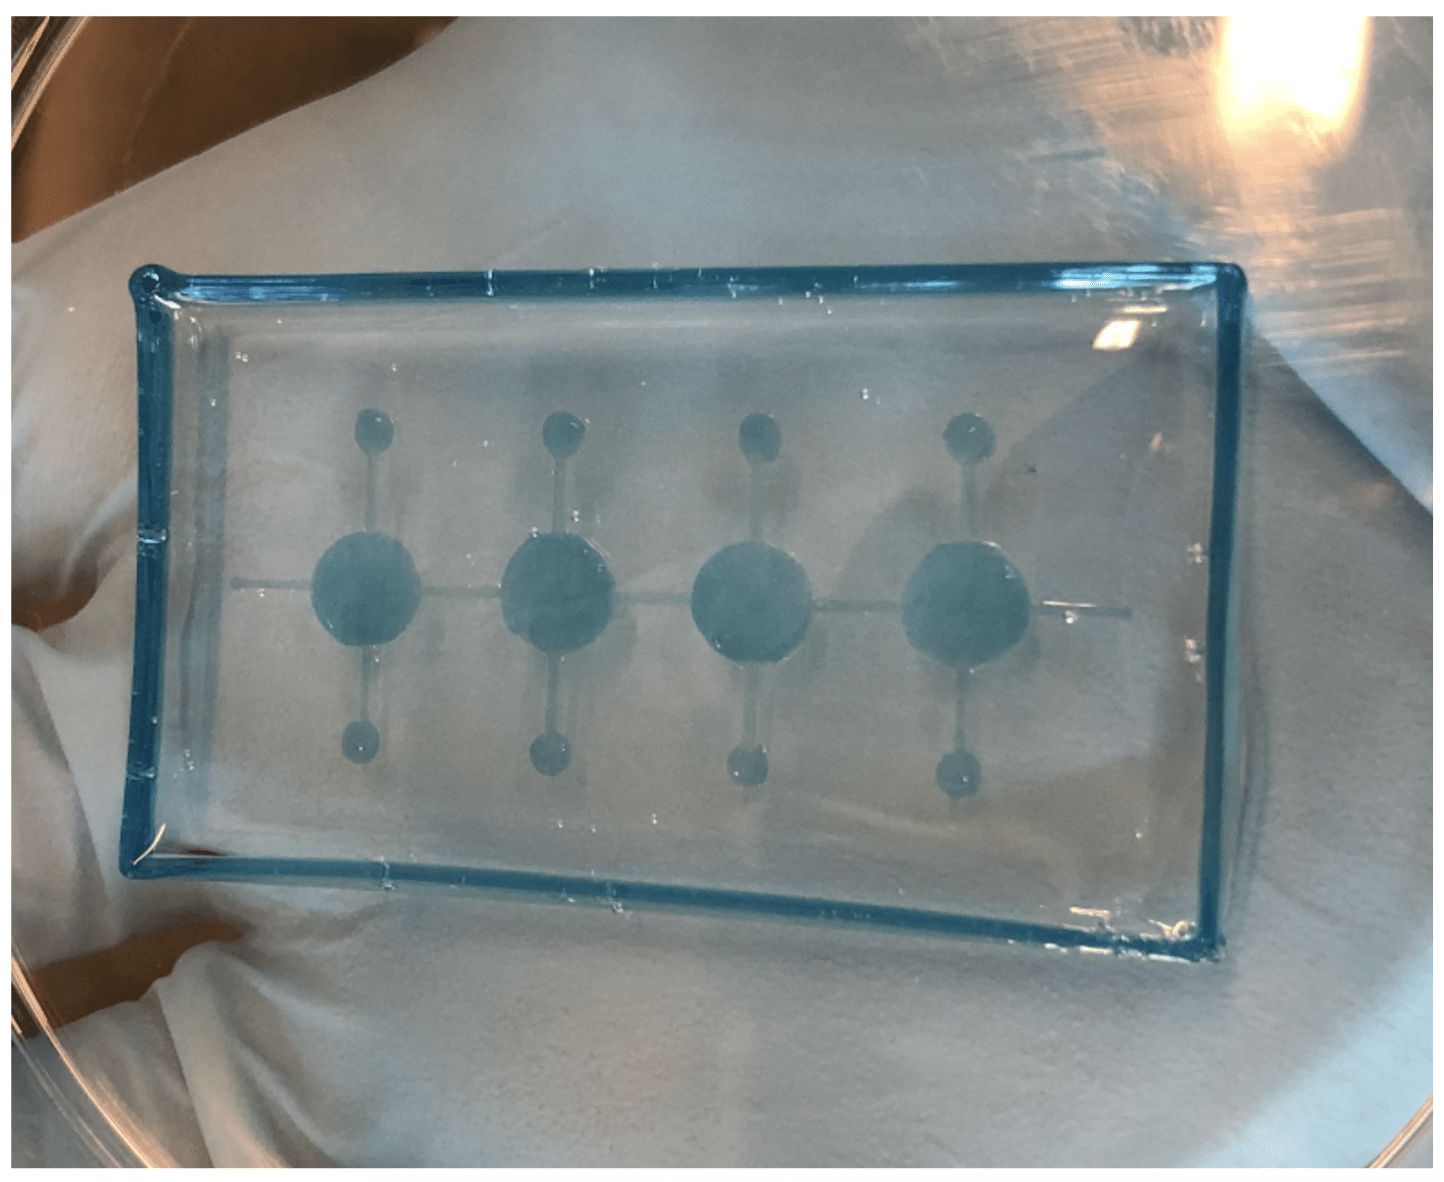
- Load a syringe with Isopropyl Alcohol (you may add food coloring to IPA in order to get a better visual of your channels);
- Place the washing 14G needle on the syringe and slightly perfuse the channel;
- Inject IPA until all of the Carbohydrate Glass has dissolved;
- You may autoclave this structure and connect it to a pump or bioreactor.
Print Settings
| Speed (mm/s) | Layer height (mm) | Nozzle Diam (mm) | Gauge |
| 8 | 0.2 | 0.3 | 27 |
| Pressure (psi) | Crosslink (sec) | Print Temp (°C) |
| 60 | 0 | 110˚C |
Warnings
- Do not touch hot Carbohydrate Glass. Risk of burning.
- Do not drop or break the Carbohydrate Glass because it can create sharp shards. Although it is non-toxic, shards present the risk of injuries.
- Do not abruptly increase print pressure, but rather slowly increase pressure in 5 PSI increments. Abrupt pressure increase may cause the needle to unscrew from the metal syringe and all material to be lost.
- If clogging occurs, extrude material until hardened Carbohydrate Glass comes out of the tip and extrusion is uniform.
- Make sure your syringe luer-lock is clean, otherwise needle unscrewing during print may occur.
- Bubbles inside the Carbohydrate Glass glass should not cause any printing or overall performance issues since bubbles will migrate vertically away from the printing tip during its melting phase.
We hope that you found this organ-on-a-chip bioprinting protocol helpful! Click here for more bioprinting protocols.
References
Miller, J.S. et al. Rapid casting of patterned vascular networks for perfusable engineered three-dimensional tissues. Nat. Mater. 11, 768–774 (2012).

