Liver tissue function is determined by the interaction of cells with their microenvironment, namely through the interpretation of biochemical and mechanical signals present in its tissue-specific extracellular matrix. Hence, mimicking the micro and macro geometry of liver constructs, as well as the composition of proteins present in liver ECM, are key components to successfully recapitulate native tissue function. Follow this step-by-step protocol for bioprinting hepatocytes in your lab.
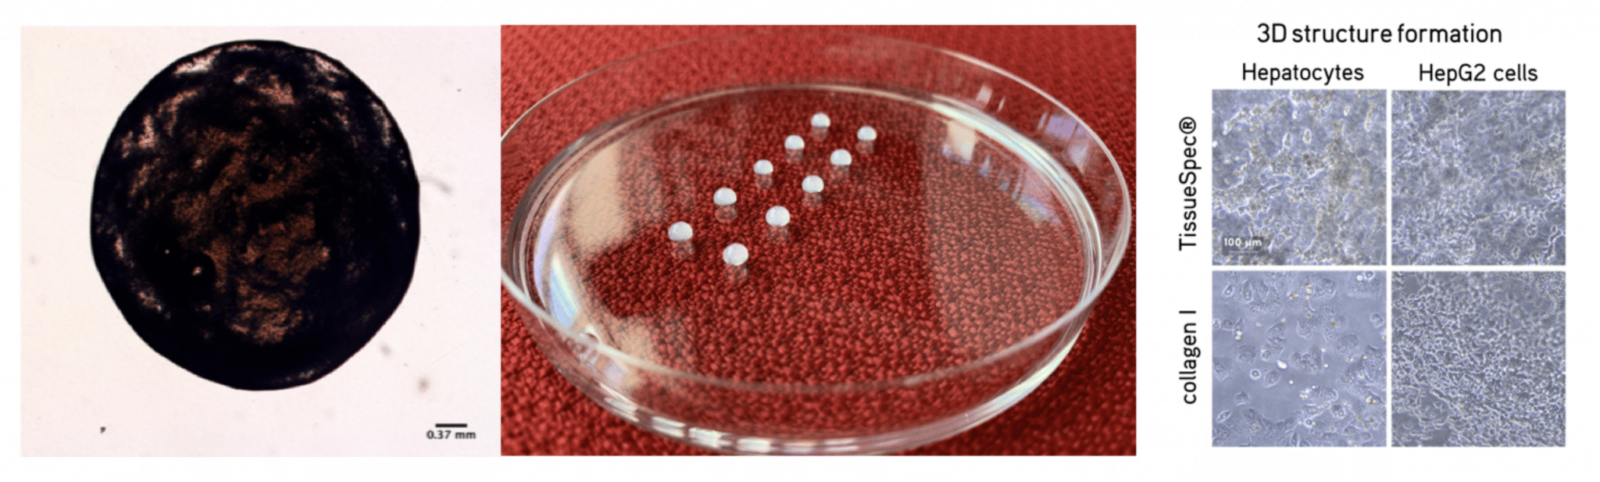
With the Allevi Liver dECM, you are now able to bioprint liver tissue that has more representative physiological function. This product uses a combination of a type I collagen bioink for patterning as well as Xylyx Bio’s highly desired liver-specific TissueSpec® ECM to enhance specialized biological response.
Allevi Liver dECM, powered by XYLYX TissueSpec®, enables you to create tissue-like structures that maximally recapitulate natural tissue characteristics. This allows you to study the physiologic activity of cells in vitro for a better understanding of disease and the development of more effective drugs and treatments.