LifeInk200 from Advanced Biomatrix is a high concentration collagen bioink that can be thermally crosslinked at temperatures above 10ºC. Due to its concentration, it has impressive shape fidelity during bioprinting. However, since LifeInk200 cannot support itself before crosslinking, we recommend using the FRESH method as sacrificial support. This protocol will walk you through a step-by-step process for collagen and FRESH bioprinting. Let’s get started.

Storage and Handling
- LifeInk 200 should be stored at 4ºC in an airtight container.
- IMPORTANT: All collagen handling should be done at 2-10ºC
You Will Need
- LifeInk 200
- LifeSupport for FRESH
- Sterile 1mL BD syringe
- Syringe coupler
- Spatula
- Ice
- Optional: well plate or printing dish of choice (FRESH kit comes with a 6 well plate)
- Optional: transwell plates can help avoid sample loss or damage throughout the experiment. Keep in mind that transwell membranes may inhibit imaging processes.
Instructions for Use
Prepare Collagen

- In a sterile environment, attach the stock syringe of LifeInk 200 to the coupler and push the collagen up to the end of the coupler.
- Attach an empty 10mL syringe to the other end of the coupler. Make sure the plunger and cap are already all the way down.
- Inject the desired amount of collagen from the stock into the empty syringe.
- Decouple the stock syringe and return it to 2-10ºC. Set the new syringe aside with the coupler still attached.
- For cell-laden printing, check out our cell mixing and bioink loading guide. You should resuspend the cell solution in 200uL of media.
Prepare FRESH
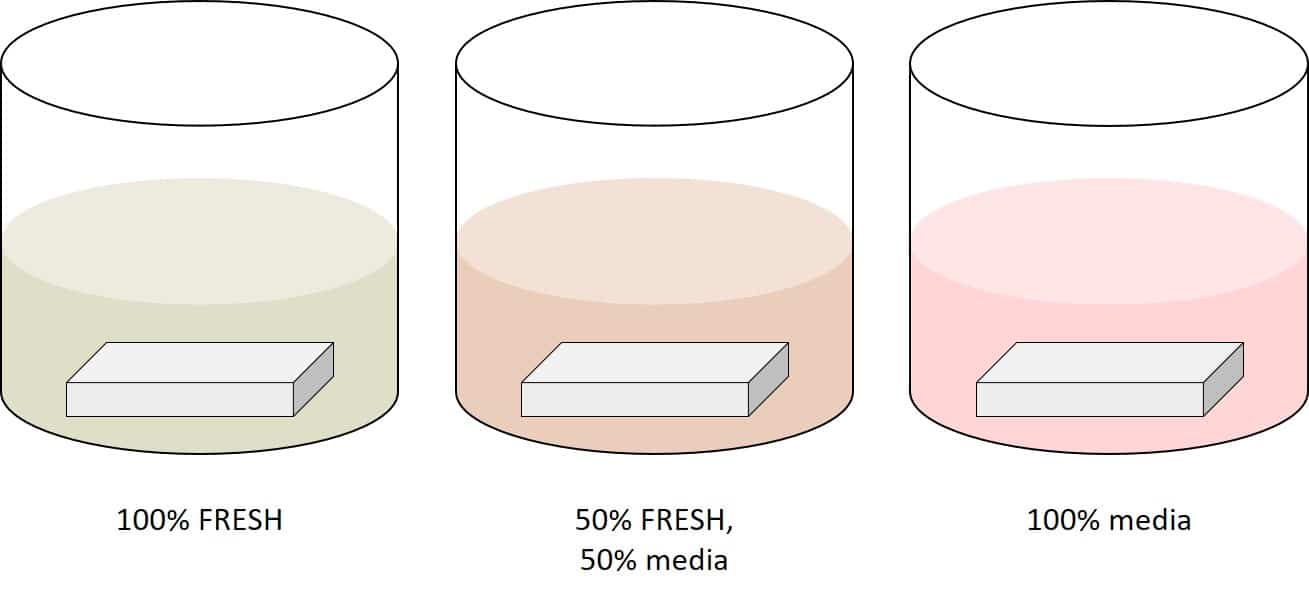
For use with LifeInk 200, you will suspend FRESH in cell culture media or 1X PBS solution as noted in our protocol on how to prepare FRESH.
Print Settings
| Speed (mm/s) | Layer Height (mm) | Nozzle Diameter (mm) | Gauge | Pressure (PSI) | Print Temp (°C) | Volume Fill (ml) |
|---|---|---|---|---|---|---|
| 6.0 | 0.2 | 0.2 | 1.0″ straight 30 | 15.0 | 4-10 | 5 |
Post print processing
- After printing your designs, crosslink the finished structures at 37ºC for 30min – 1 hour.
- After crosslinking, the melted FRESH must be removed. This can be a painstaking process as one needs to keep the structures submerged to provide support. Pipette some sterile media into the container. Then remove some of the FRESH-media mix. Continue to do this until the container is entirely filled with media.

*Crosslink times of 2 hours or higher can significantly decrease viability.
These materials do not need to be photocrosslinked, so all of the crosslink settings may be set to 0.
Suggested Groups for Bioprint Study
When planning a bioprinting study, it is always important to carefully choose controls. Here are the control and experimental groups that we use when planning a study.
| LifeInk Concentration | Cells (millions/mL) | FRESH? | Design | Print/Pipette |
|---|---|---|---|---|
| 2D (0 mg/ml) | 5 | No | N/A | Pipette |
| 20 mg/ml | 5 | Yes | Thin film | Pipette |
| 20 mg/ml | 5 | No | Thin film | Pipette |
| 20 mg/ml | 5 | Yes | Thin film |
2D controls are useful when screening for potential issues with culturing or contamination. If this control demonstrates low viability, it implies that there is an issue with your cell culture that needs troubleshooting.
3D pipetted controls are a control for Lifeink 200 cell encapsulation. Because this control is pipetted, it removes any variables involved in bioprinting that might affect viability. Pipetting into FRESH tests for potential contamination with the support material. And finally, the bioprinted thin films would show if there was a decrease in viability due to the printing itself.
Notes
- Gelation time and gel stiffness can be affected by varying the concentration of LifeInk 200 and duration of the crosslinking time. For help adjusting print parameters please contact [email protected].
- A fill volume change of more than 2 ml may affect pressure settings.
- A lower gauge size or tapered gauge will require lower pressure, while a higher gauge will require higher pressure for extrusion. Lowering the gauge size will also generally lower resolution.
- If you have any problems while printing using FRESH technique, check our FRESH troubleshooting guide.

