
Overview
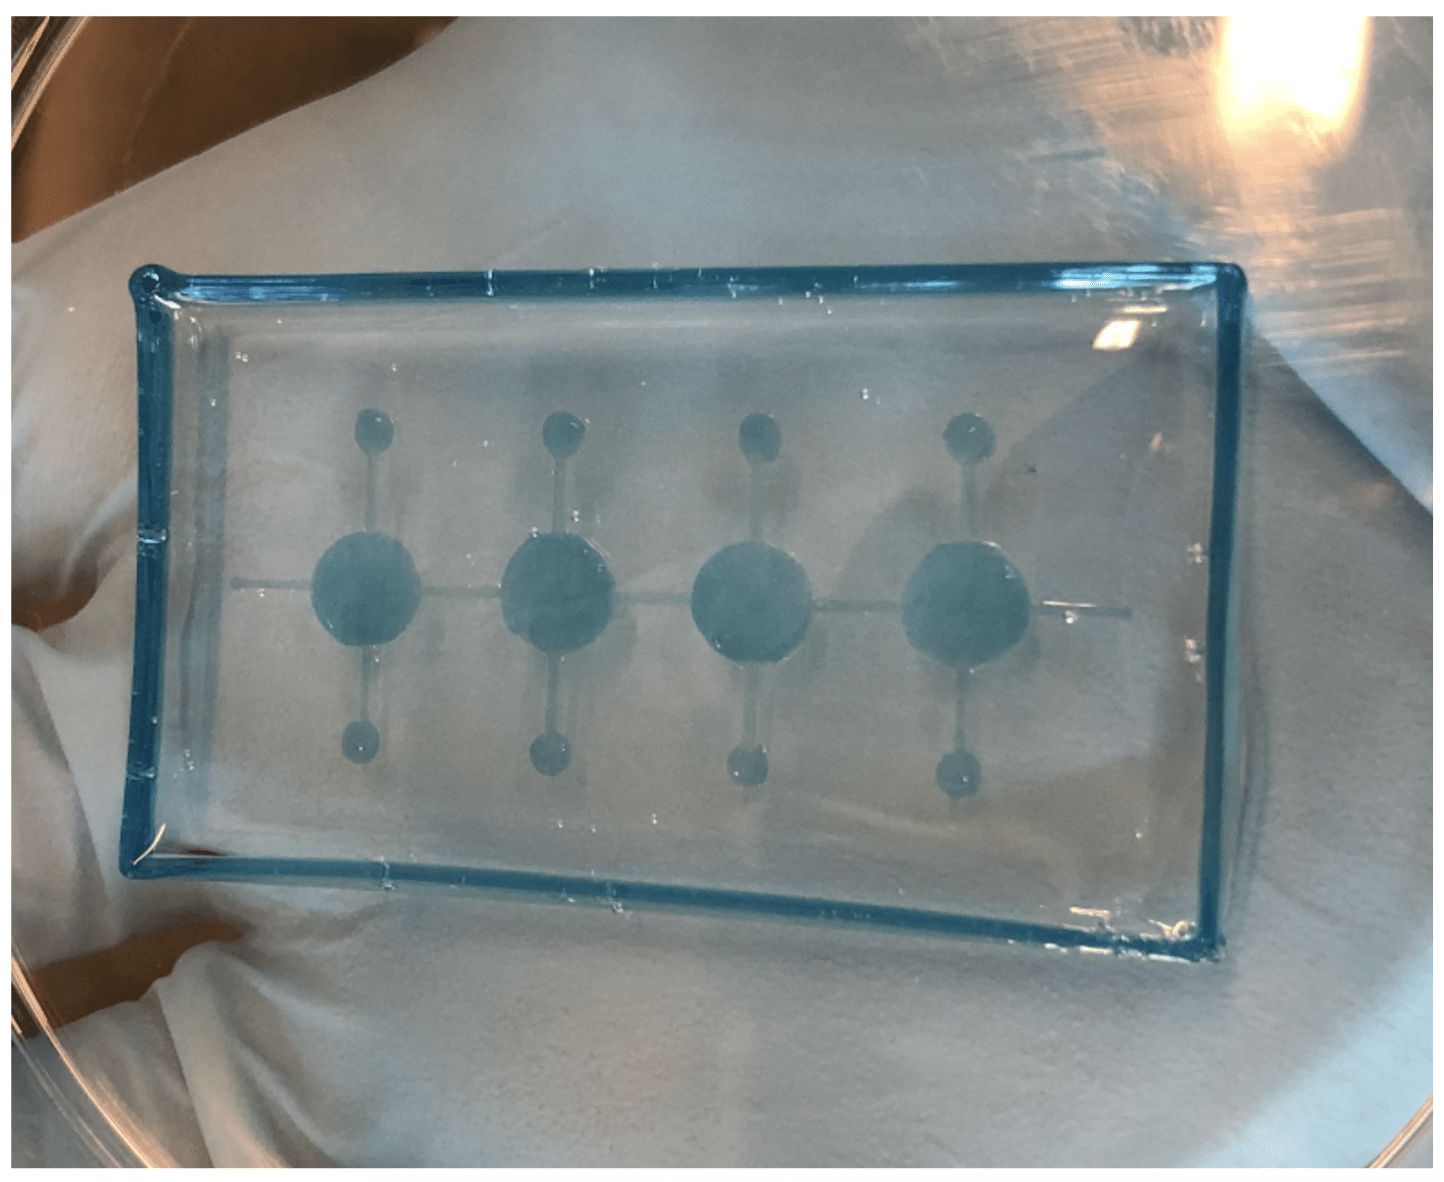
Organs-on-chips have proved to be extremely valuable systems utilized for disease modeling, drug testing, and mimicking organ function. This organ-on-a-chip protocol allows you to build structures with controlled inner and outer geometries for liquid perfusion that can simulate blood flow and re-create organ systems. Prototype molds can be made out of sacrificial material such as Pluronic then cast in PDMS, which allows final prototypes to be autoclaved, seeded with cells, and connected to pumps or bioreactors for different 3D studies. Follow this protocol for organ-on-a-chip bioprinting using pluronic.
Materials
- Pluronic
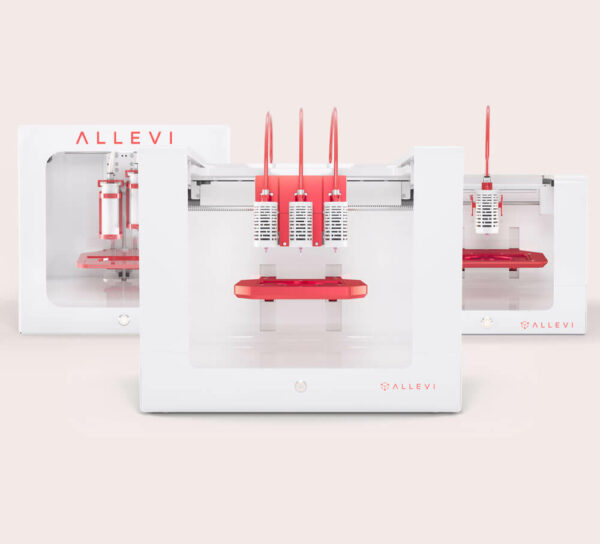
- Allevi 5 mL Metal Syringe
- 30G Plastic Tips
- PDMS
- Silicone Mold
- Isopropyl Alcohol
- Allevi 5 mL Syringe
- 14G Washing Needle
Methods
- Screw the 30G plastic tip on the pluronic syringe and insert it in your Allevi extruder;
- Note: channel diameter is influenced by needle gauge. You may also use different gauges to yield different channel diameters.
- Thoroughly mix your PDMS Part A with Part B in a 10:1 ratio (each silicone mold holds a 15 mL volume);
- Note: You may centrifuge PDMS to remove air bubbles.
- Add the mixture filling up to half of the silicone mold;
- Place your mold in a 50˚C oven for 45 minutes;
- When you remove the mold, the PDMS should still be soft enough to create one uniform structure, but hard enough to print your pluronic print.
- Print your desired structure on the PDMS surface;
- Note: Ensure that your structure fits the dimensions of the silicone mold.
- Fill the rest of the dish with the remaining PDMS;
- Leave the casted structure at room temperature overnight;
- NOTE: You may skip this step, but longer curing times prevent air bubbles from being trapped in your chip.
- On the next day, place your structure in a 60˚C oven for 2 hours;
- When completely cured, remove the PMDS prototype from the silicone mold.
- Load a syringe with cold water;
- Place the washing 14G needle on the syringe and slightly perfuse the channel;
- Inject cold water until all of the pluronic has dissolved;
- Note: you may also use a pump with cold media to clear the channels.
- You may autoclave this structure and connect it to a pump or bioreactor.
Print Settings
| Speed (mm/s) | Layer height (mm) | Nozzle Diam (mm) | Gauge |
| 8 | 0.2 | 0.1 | 30 |
| Pressure (psi) | Crosslink (sec) | Print Temp (°C) |
| 80-100 | 0 | Room Temperature |
We hope you found this protocol useful for organ-on-a-chip bioprinting using pluronic! If you have trouble printing the material, check out our pluronic troubleshooting guide.

