
Overview
Poly(ethyelene glycol) diacrylate, or PEGDA, is a PEG-based hydrogel that reacts and crosslinks in the presence of LAP photoinitiator and Allevi blue light technology. The recommended preparation provided in the user instruction below yields a streamlined matrix bioink that supports 3D printed cell-laden constructs. However, preparation can be modified by users to suit their needs. Follow this step-by-step process for PEGDA bioprinting.
Note: Due to low viscosity, PEGDA solutions can be difficult to work with when bioprinting. For optimal results, we suggest mixing this reagent with a more viscous material.
Materials
- PEGDA
- LAP
- Plastic syringe (5 mL or 10 mL)
- Printing dish of your choice
- Percoll
- Metal or UV-block tips
- Printing dish of your choosing
- 0.45 µm sterile filters (we suggest these)
- Optional: Treated glass (See protocol)
Methods
- Measure 0.8% w/v LAP concentration and mix in cell media or PBS at 60°C in a light-protected vial. Mix until all LAP is dissolved.
- Measure 33.33% w/v PEGDA concentration and add to the solution, still in a light-protected vial. Mix at 60°C until all PEGDA is dissolved.
- Adjust pH of solution from step 2 to 7.4.
- Filter solution with a 0.45 µm syringe filter under sterile conditions.*
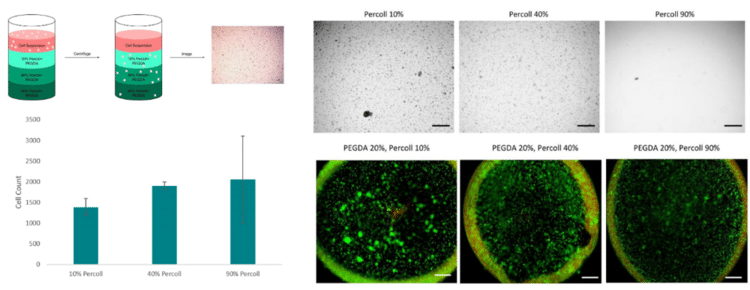
- Mix solution with Percoll to create a 40% (v/v) Percoll solution.
- Note: For 5 ml, you will need 3 ml of solution and 2 ml of Percoll.
- Mix in desired cell concentration in a sterile container.*
- Load cell-laden bioink into a sterile plastic syringe.
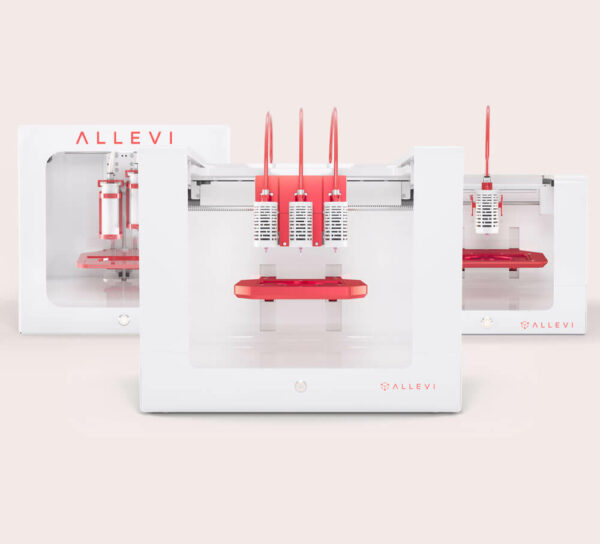
- Load syringe into Allevi bioprinter.
- Place the desired printing dish onto the print-bed.
- Design or upload your CAD file in the Allevi software and use the print settings outlined below. Print your desired structure.
* For prints without cells, step 4 & step 6 may be skipped.
Print Settings
| Speed (mm/s) | Layer Height (mm) | Nozzle Diam (mm) | Gauge | Pressure (psi) | Print Temp (C) |
|---|---|---|---|---|---|
| 4.0 | 0.3 | 0.3 | 30 tapered | 3-5 | 25 |
Post-print settings
| Crosslinking Time (s) | Crosslink Intensity (mW/cm^2) |
| 240 | 10 |
Notes
- Gelation time and gel stiffness can be adjusted by varying the concentration of PEGDA or LAP. For help adjusting print parameters please contact [email protected].
- A fill volume change of more than 2 ml may affect pressure settings.
- A lower gauge size or tapered gauge will require lower pressure, while a higher gauge will require higher pressure for extrusion. Lowering the gauge size will also generally lower resolution
We hope that you found this step-by-step guide for PEGDA bioprinting to be helpful! You are now ready to analyze and image your 3D bioprinted structure – click here for post-print analysis protocols.
References
B. D. Fairbanks et. al, “Photoinitiated Polymerization of PEG-diacrylate with lithium phenyl-2,4,6-trimethylbenzoylphosphinate: polymerization rate and cytocompatibility,” Biomaterials, vol. 30, no. 35, pp. 6702-6707, Dec 2009.
Chan V et al. “Three-dimensional photopatterning of hydrogels using stereolithography for long-term cell encapstulation.” Lab Chip. 2010(10) 2062-70.
Lin, Hang et al. “Application of Visible Light-based Projection Stereolithography for Live Cell-Scaffold Fabrication with Designed Architecture.” Biomaterials 2013(34). pp. 331- 39.

