Allevi Blog
Tips for Creating 3D Bioprinting Models
- Updated on October 4, 2022
Every bioprint starts with a 3D model, but how do you create a 3D file? There are many ways to do it, and don’t worry – you don’t have to be an expert in 3D modeling to start bioprinting!

Your 3D bioprinter needs a set of instructions to follow in order to create three-dimensional shapes. This set of instructions is contained in G-code, a programming language that 3D printers can understand. G-code contains simple commands telling the printer to move in the x, y, and z directions, and to perform specific actions like extruding, or turning on the light for crosslinking. There are two ways of obtaining these instructions – writing G-code manually or slicing a 3D model.
Writing Manual G-code vs Slicing
Even though G-code has “code” in its name, you don’t need any coding experience to write your own instructions for your Allevi bioprinter. You can just follow our guide to G-code to create 3D shapes in no time. This is especially useful when you are creating something rather simple – lattices, vasculature-like structures, or simple geometric patterns. This method will give you total control over the location of the extruder and speed at which everything is printed. However, it can get complex quickly, so if you are planning to print something bigger, we recommend that you use a slicer.
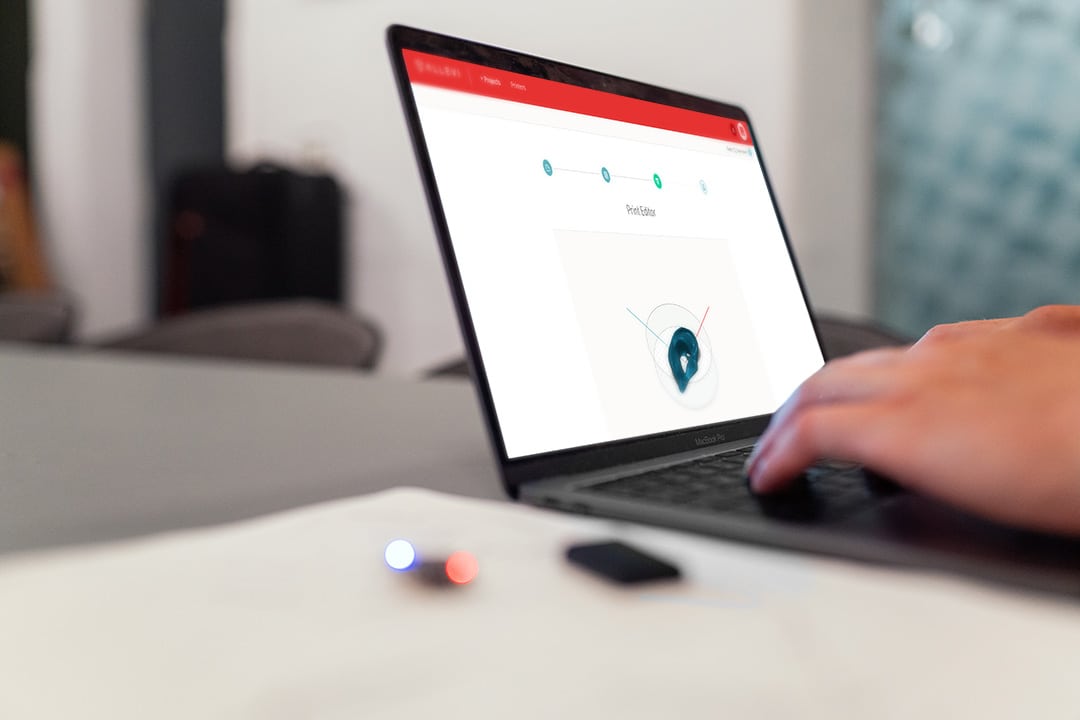
Slicing a 3D model is the process of converting the file into G-code following rules that you choose. How thick should each layer of the print be? How fast should the extruder move? Do you want the 3D model to be solid inside or have some infill pattern? There are several slicing options available for regular 3D printers, but our Bioprint Online software comes with an integrated slicer that is optimized specifically for bioprinting. It only takes one click to convert a 3D model you upload into G-code that your Allevi printer can read and follow.
But how do you get that 3D model in the first place, if writing the G-code by hand is not an option? You can try to find one online to download or create the model yourself!
Find a 3D Model to Download
There are several websites that offer different 3D models you can download including our own! In our sample 3D files section, you can download simple 3D models that are very often used with our bioprinter.
One resource we would recommend checking out is Thingiverse, a huge online repository for 3D printing models. You can find ALL sorts of models on Thingiverse (not necessarily biological in nature) and they have an active community that can be very helpful. We would also highly recommend looking for files on the NIH 3D print Exchange. This platform offers 3D printing files that are scientifically accurate and/or medically relevant. There, you can find anatomical models, molecules, labware, and much more – everything in 3D printer-friendly file formats.
If you didn’t find what you are looking for in these online repositories, you might need to design the model yourself. Here you also have several options – depending on your needs and your designing skills.
Create a 3D Model Yourself!
The easiest and most user-friendly method is using our Bioprint Pro online software. With an integrated shape editor you will be able to create various 3D models – select between box, cylinder, or dots to create geometries with dimensions of your choosing. You can add several shapes and combine them creating more complex objects. It is also possible to assign particular shapes to different extruders creating multi-material models. This method, although simple, can cover a lot of your bioprinting needs – combined with our slicer you can create lattices, tubes, single droplets, and many more standard bioprinting shapes.
If you need a structure that is more complex and all the other methods were not enough – you might need to design the model yourself. Depending on the input data – you can choose different routes: 3D scanning or designing from scratch using CAD modeling software.
As bioprinting often tries to replicate anatomical structures, you can use existing medical scans, such as CT or MRI images, and convert them into 3D printing models. For that, there are several free and paid options that you can look into. One free and open-source solution is 3D slicer, a software that allows for medical data segmentation, and export to .stl formatted files. If you obtained your model data through microscopy, Imaris is a better option. Imaris is a cell imaging and analysis software that provides tools for surface detection from a series of microscopic images. This can later be exported as a 3D model ready to be sliced.
Alternatively, you can use Computer-Aided Design (CAD) software to design a 3D model yourself. Here there are also plenty of options to choose from. One option that we can recommend is Fusion 360 – a very robust tool for creating 3D models that comes with a free educational license. It’s clean design and extensive help online makes it easy to learn and apply in your next project.
If you still have problems to get the 3D model that you would like to print contact us at [email protected].

